How to make a blog for free with no code
I noticed all the tutorials on how to make a personal website or blog are too complicated, bloated and/or require paid software. I don't like seeing people confused and robbed trying to show their work to the world when they should be creating instead. So here's how you can make a minimalist blog that'll be free forever.
Disclaimer: I'm not sponsored by any of these services - I only know about them because I use them myself. I didn't pay a dime (besides $17/year in domain fees) to host this post that you're reading on my website right now.
1. Setup
- Sign up for Github and download Github Desktop.
- Sign up for Netlify (log in with Github).
- Download a code editor (I like VSCode).
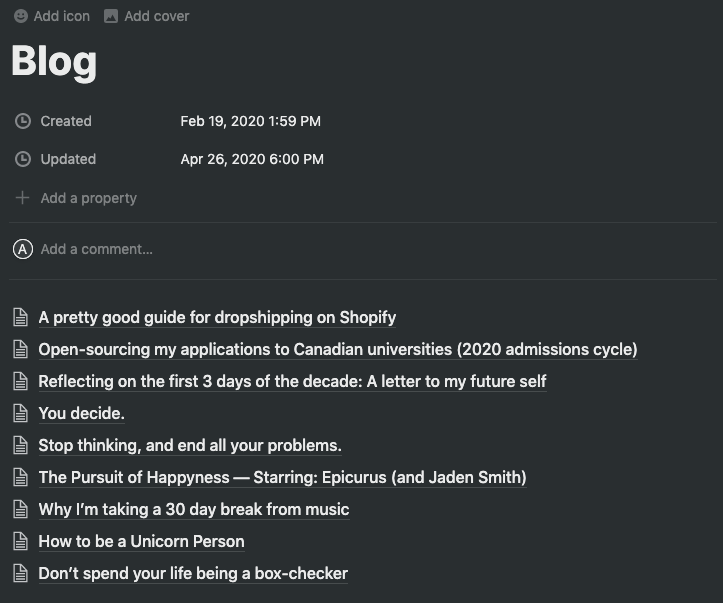
- Sign up for Notion and make sure all your blog posts are on there under one page. Type /page to embed a page within a page.
1.1 Exporting Pages to Notion
- Export your main page to HTML and include subpages.
- Rename the main page you exported to index.html - this will be the home screen for your blog.
- Don't touch the name of the folder containing your sub pages. Doing so will mess with how the home page links to your posts.
2. Uploading Posts to Github
- After installing Github Desktop, create a new repository through the app
- You should now have a new folder on your computer in the location you specified when created the repository. This repository/folder is the link between files on your computer and Github - anything you put here can be stored on the internet and eventually published onto a website.
- Move the files in the folder you exported from Notion into the repository folder.
- Github Desktop should register that those files we're added to the repository - go ahead and type a summary message, commit and publish your repository.
- If all that goes smoothly, your files should now be on github.com - you can check by visiting the website, clicking your profile icon in the top right and looking under "Your Repositories".
3. Hosting your Website on Netlify from Github
- Log in to Netlify with Github and click "New Site from Git"
- Choose continuous deployment from Github. This means that whenever you update the files in your repository or add new ones by committing and pushing files from Github Desktop to github.com, Netlify will automatically update your site.
- Once you've found your repository, click it then click deploy site without changing any other settings.
- Your site is now live! You can change the name in domain settings to anything you want but for now it will end in netlify.app no matter what.
3.1 Editing pages directly and updating your site
Here's an update I made to my site after to get rid of the ugly grid at the top. Notice how I used the exact same way of committing to github.com as we did when we first made the repository. This is how you'll do it every time you want to update your blog.
4. Adding a custom domain to your site
- Netlify has built in instructions for this but sometimes they're a little confusing. You'll need to buy a domain, either from an external provider or Netlify themselves.
- Adding a domain you've bought from Netlify is pretty straight forward. For external services like Google domains or name.com, you'll need to go to domain settings on Netlify to configure them.
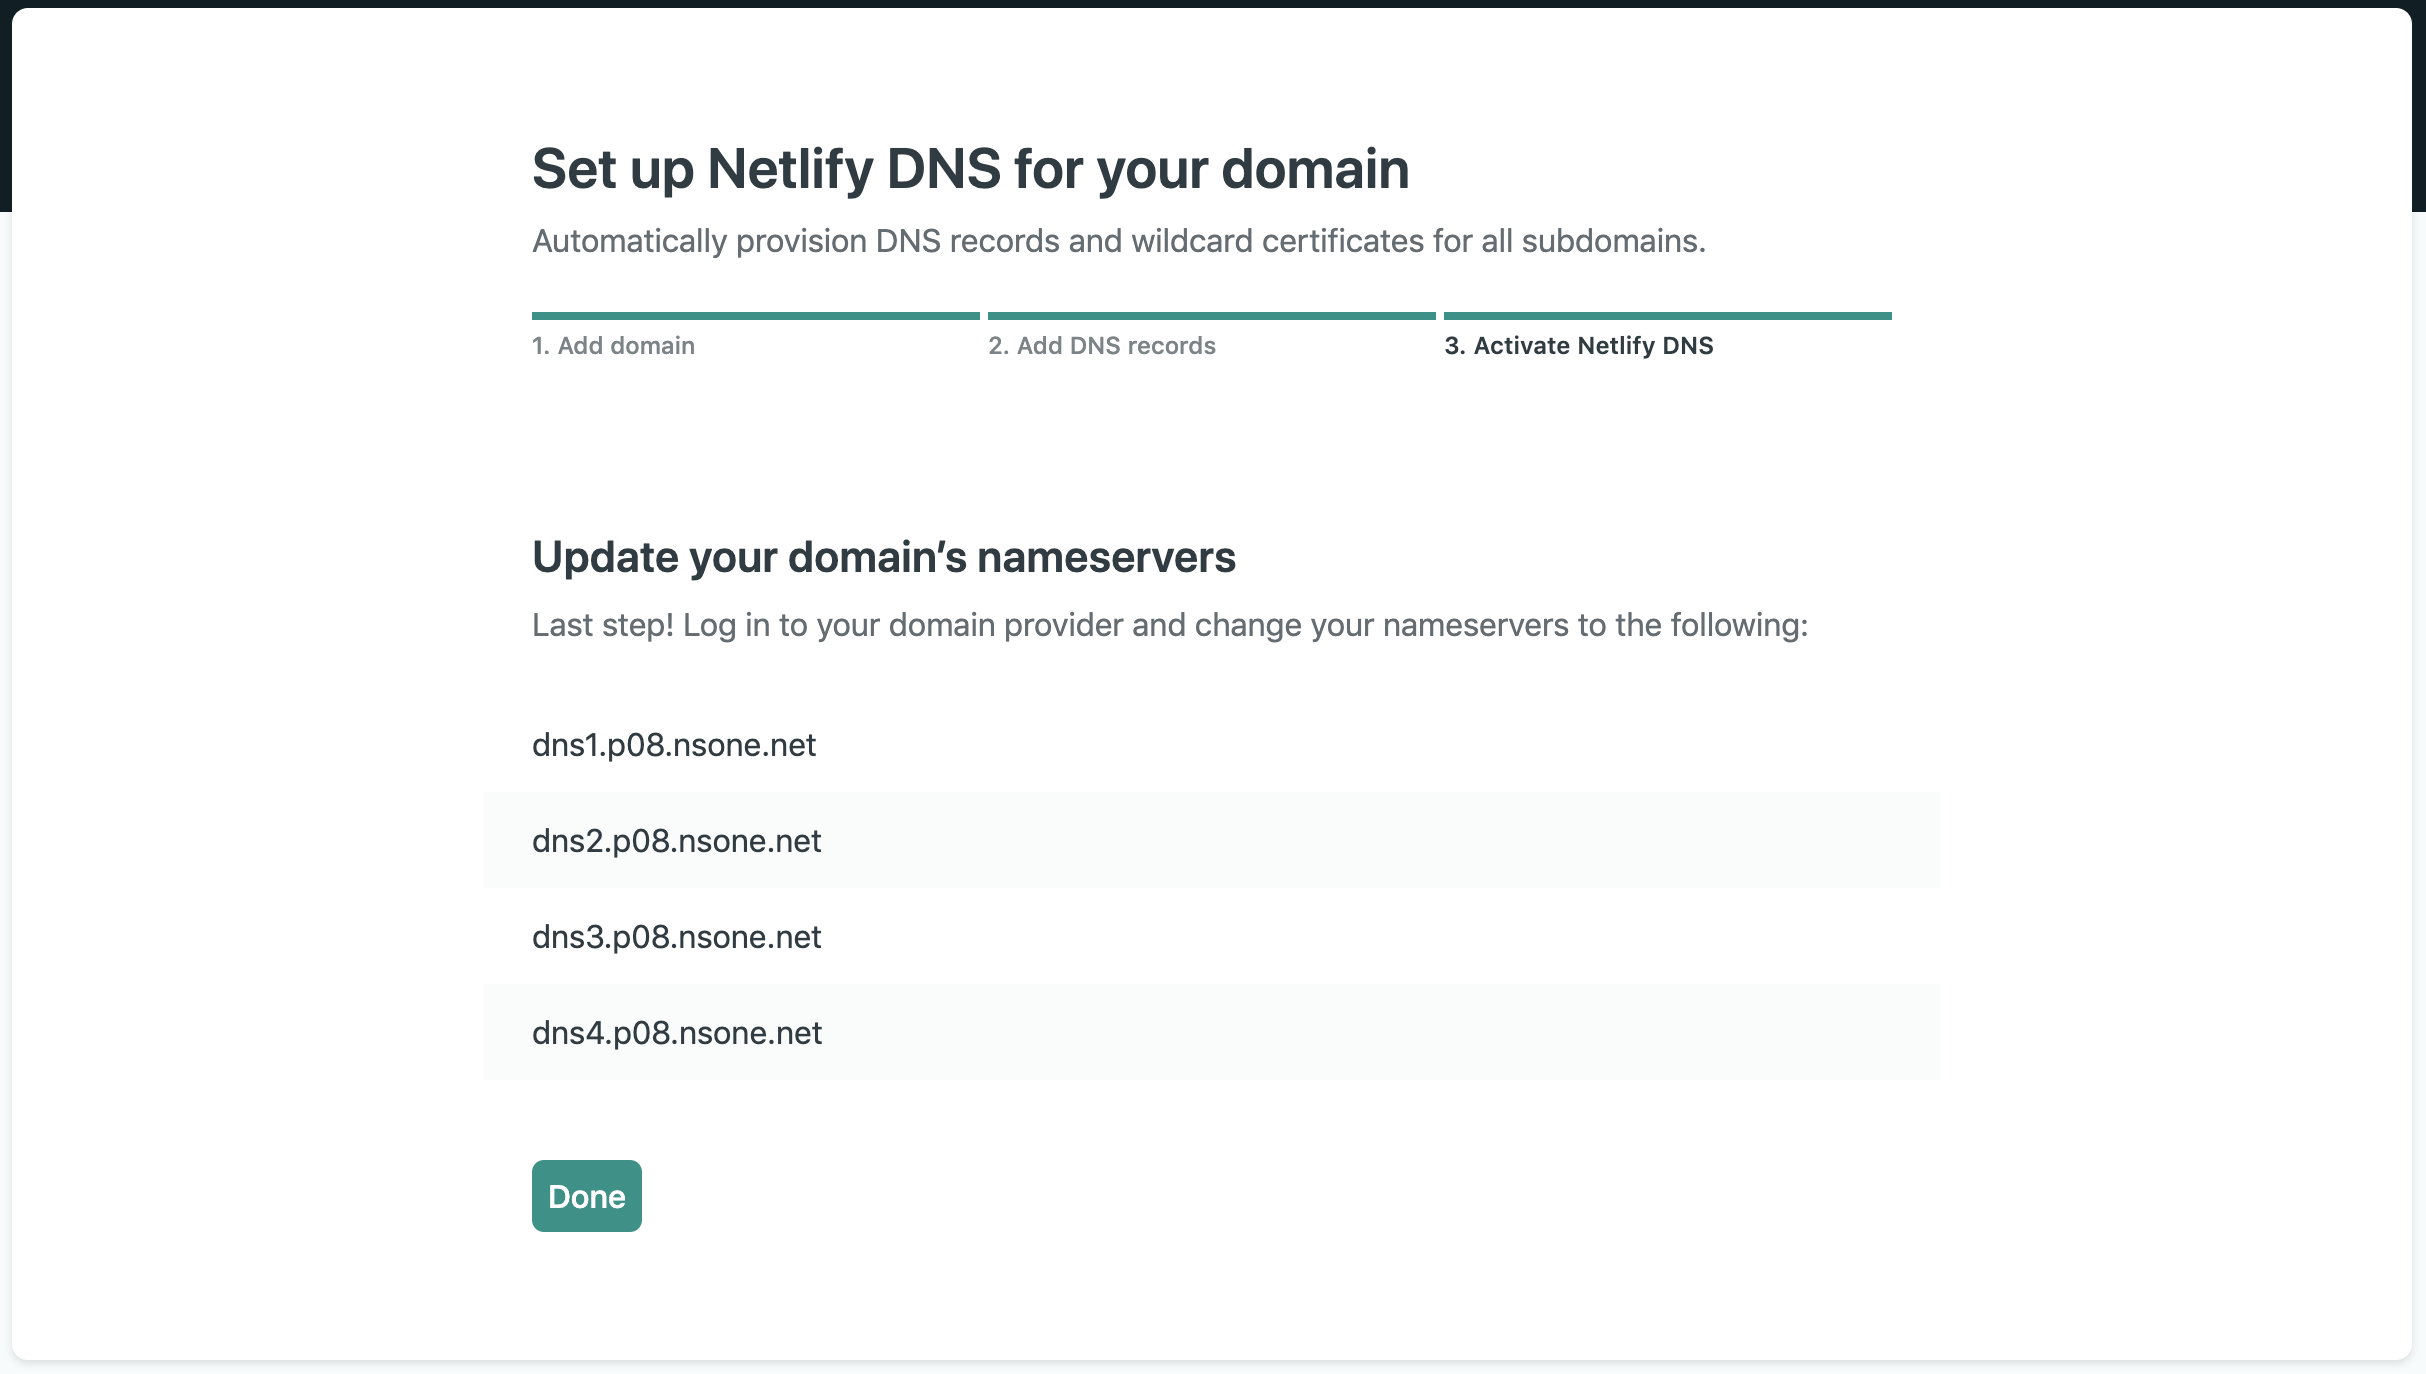
- Click on "add custom domain" and enter your domain. After verifying that you own the domain, it'll take you back to domain settings where you'll now need to change your domain providers settings so that Netlify can display your site on that domain. There's 2 ways of doing this:
- Add an ANAME or ALIAS Record. there should be some sort of Manage DNS option from your domain provider where you can add records.
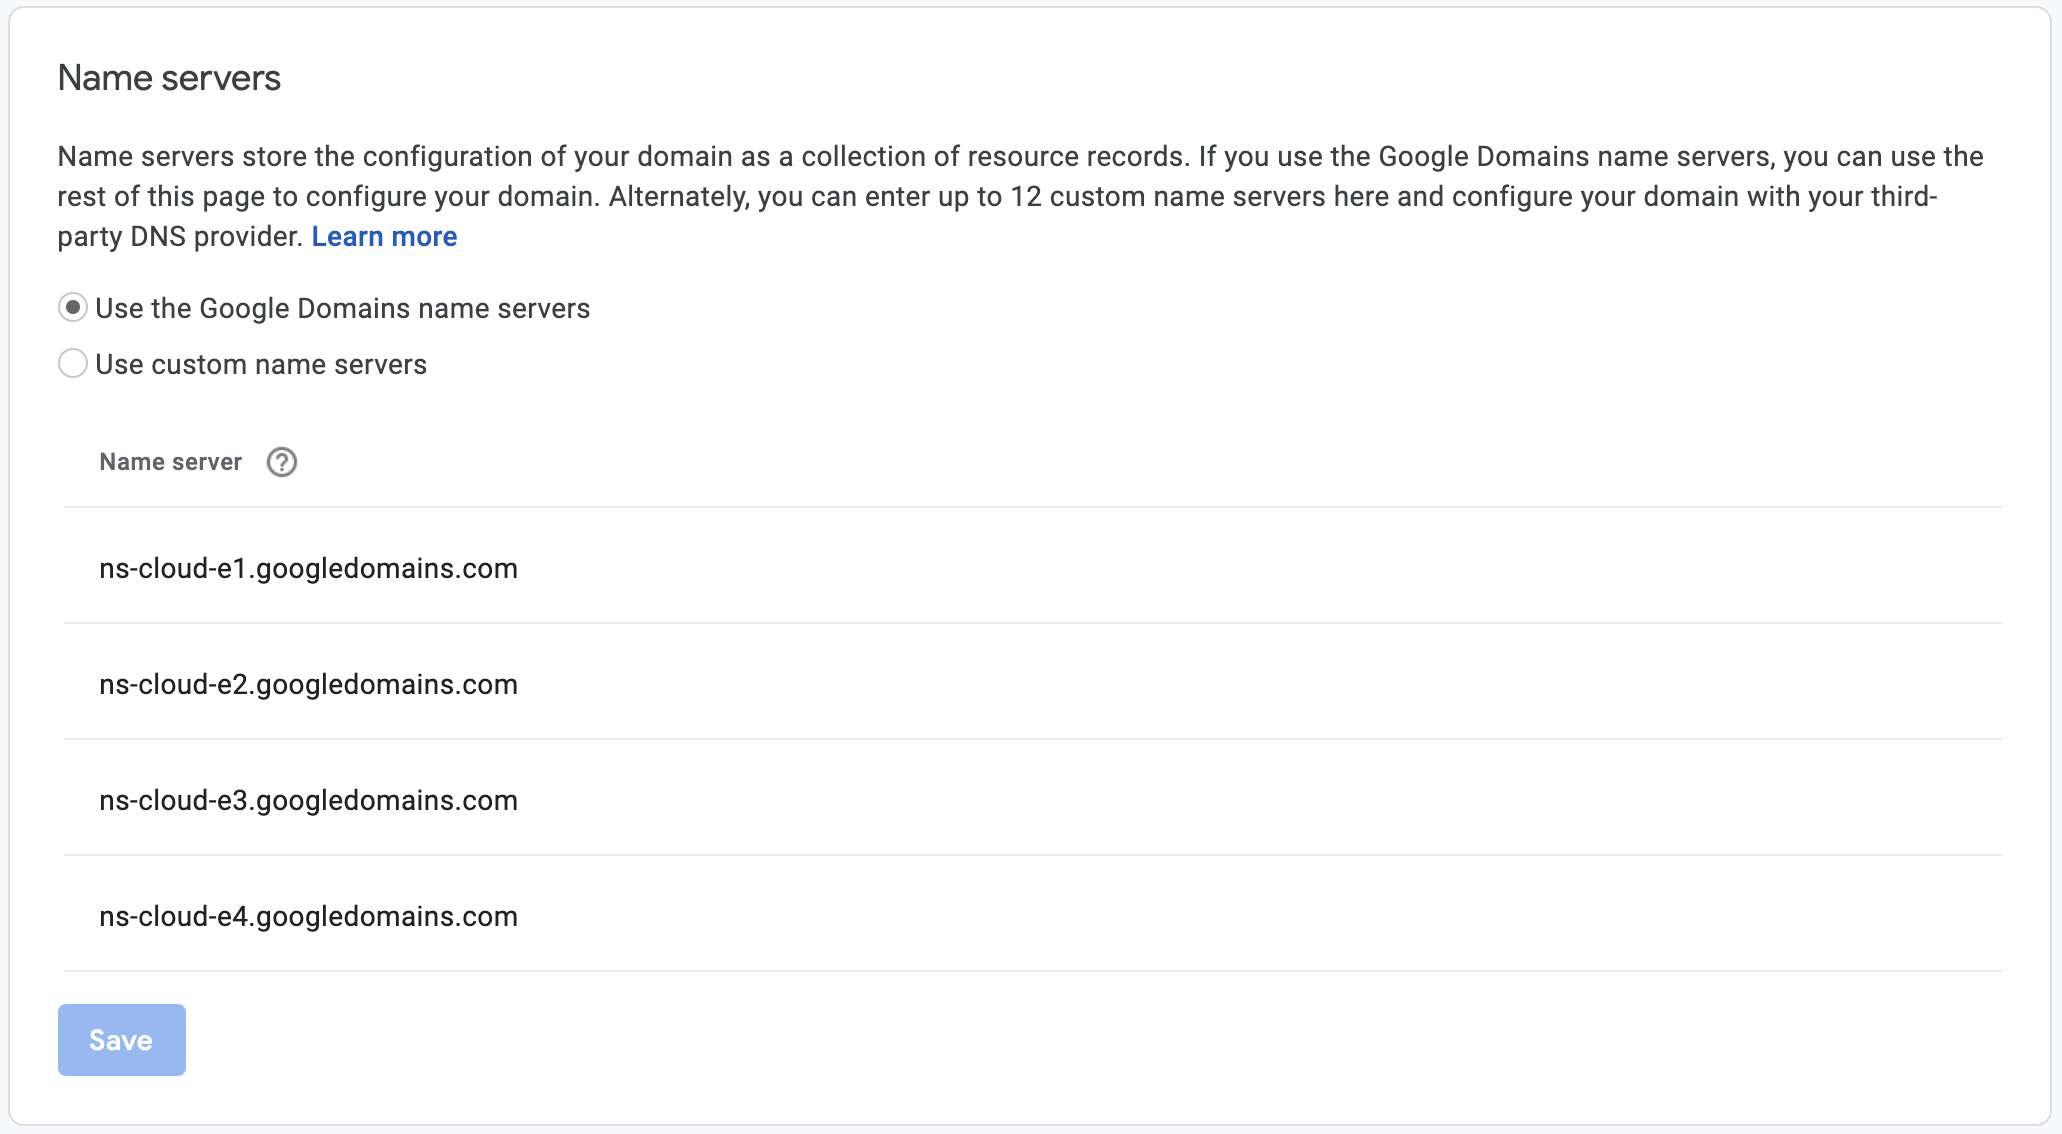
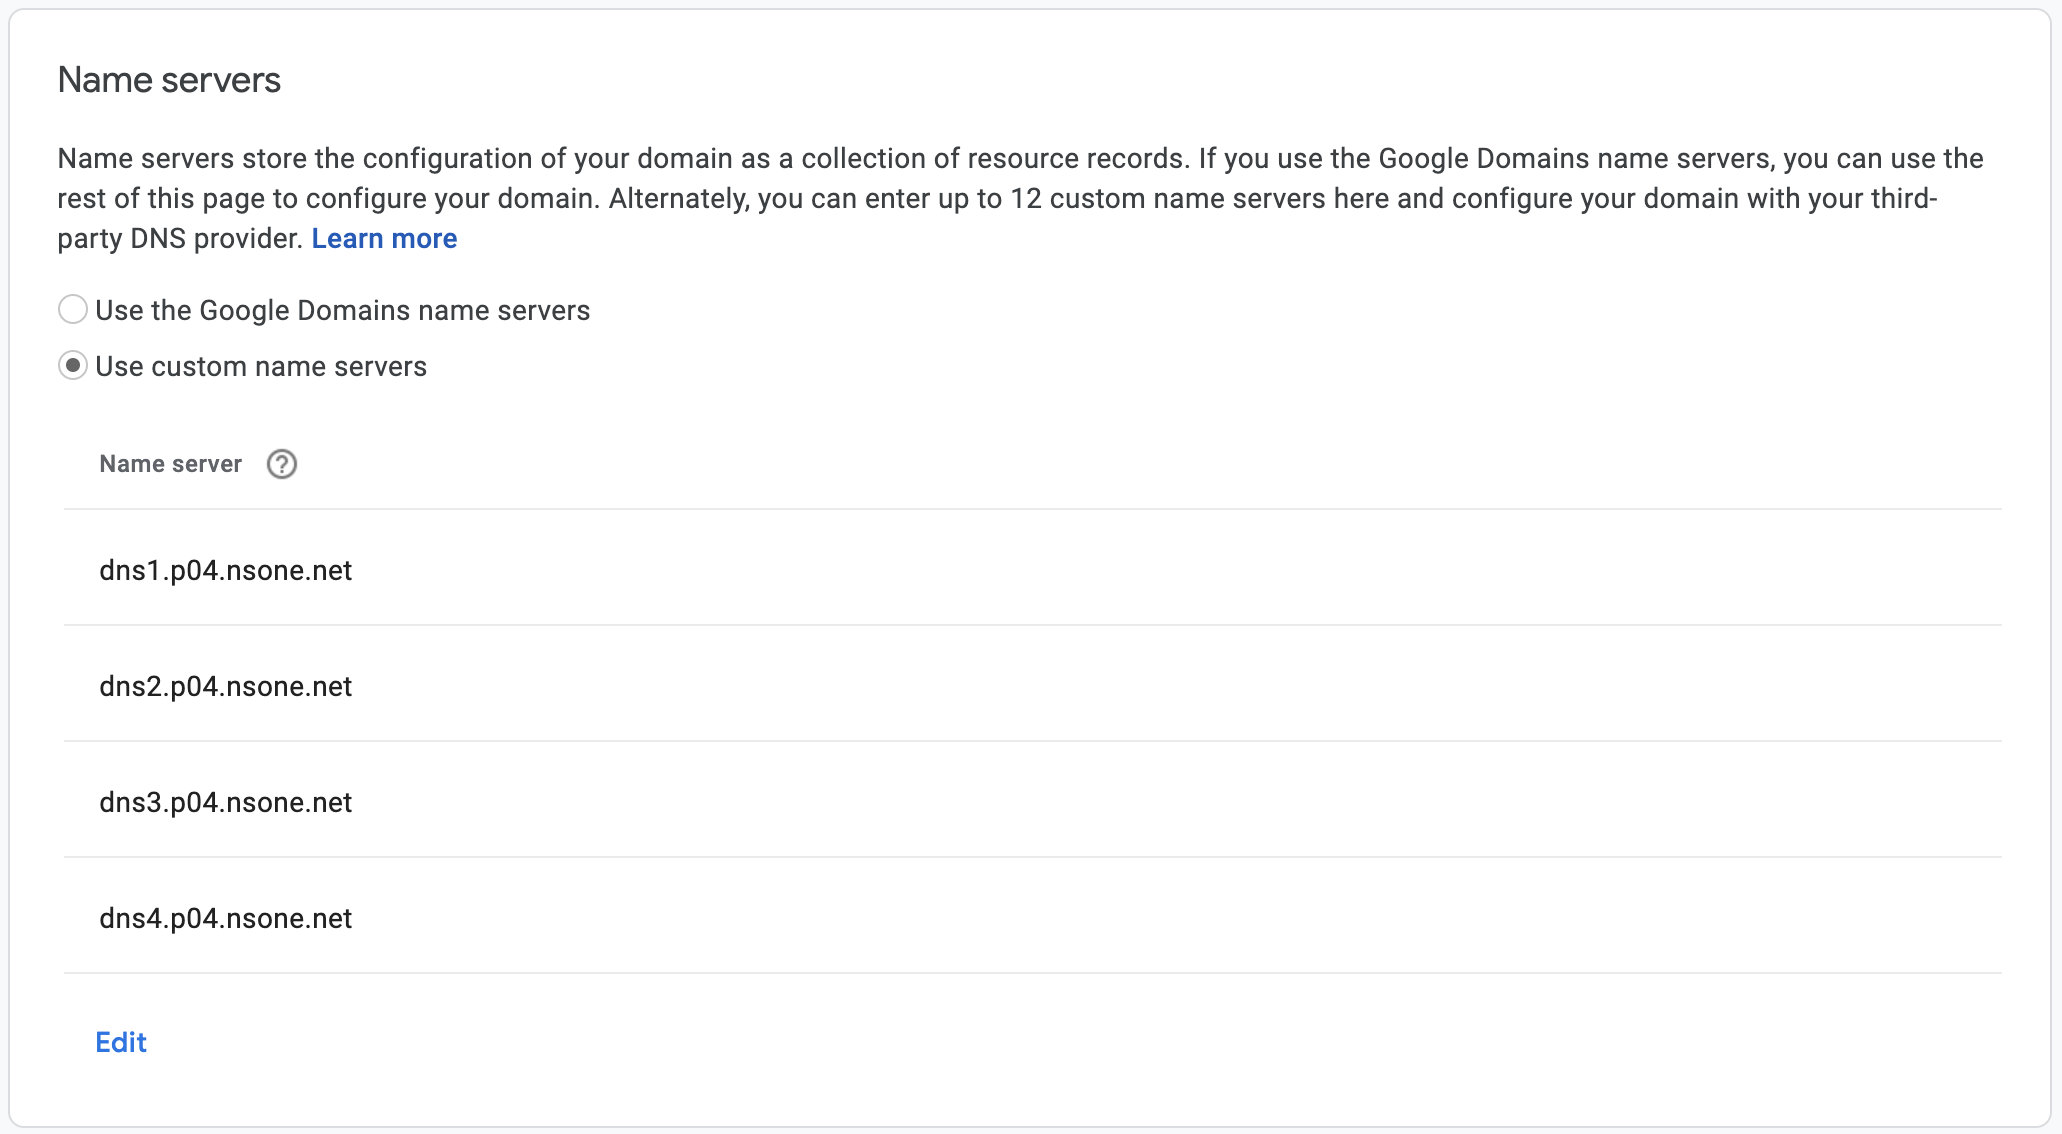
- Change your domain providers nameservers to Netlify's. You'll have to delete the default nameservers and replace them with Netlify's. Keep in mind this option will only work if you domain provider doesn't already use ns1.
- Add an ANAME or ALIAS Record. there should be some sort of Manage DNS option from your domain provider where you can add records.
Bonus: Samples of sites built using this stack
- A personal website built entirely in notion! No fancy HTML/CSS needed 😎
Cassia AttardI'm a 19 y/o on a journey to solve world problems. 🐦 Twitter 📝Blog 💼 LinkedIn 🌟 Media Hey, I'm Cassia! I'm constantly learning about biology, ecology, tech, philosophy, and the film industry. I'm currently Community Lead at The Knowledge Society.https://cassiaattard.com
2. (WIP) A book notes blog - instead of having using a Notion doc as her home page, I helped Bea use Bootstrap to create a grid of book covers that link to her book notes!
BeaReadshttps://beareads.com-AA
Thanks for reading! Let me know if you have any questions via email at [email protected] - I'd be happy to help!
And if you found this tutorial particularly useful, consider buying me a coffee ☕️.


